I spent the last two afternoons with two sixteen-year-old girls working on different jewelry techniques using recycled materials. The first afternoon was devoted to filling bottle cap with miniature objects and pouring resin on the top to capture the objects.
During the second afternoon I showed the girls how to take jewelry apart and put it back together using looped wire and jump rings. They sorted through piles of junk and broken jewelry to find just the right pieces to work with. Their homework the night before was to look through the book Rejuvenated Jewels by Amy Hanna to get an idea of how one can take pieces from many sources to create a new and unique wearable art. They also brought along some silver charms from a family member to incorporate in the work. Both came up with stunning designs.
www.eaststreettins.etsy.com
Saturday, June 27, 2015
Thursday, June 4, 2015
Monday, June 1, 2015
Clocking It
It has been awhile since I have written. Developing new products takes awhile. I have been ruminating on making a tin clock for sometime now and have finally collected the ingredients to mix up the recipe. Here is my first attempt from start to finish.
Wanting to cover wood, and using recycled wood, it took me awhile to find pieces the right size. My clock components hand an hour hand of 9" so the wood had to be large.
On to the next one!
Wanting to cover wood, and using recycled wood, it took me awhile to find pieces the right size. My clock components hand an hour hand of 9" so the wood had to be large.
A hole needs to be cut to insert the clock works.
Someone had given sheet aluminum, I think for roof flashing. It has sat around my studio for some time now but I could see the possibilities forming. I encased the wood in the aluminum which gave me a canvas to play with: to add color.
For the first clock I chose no numbers just two axises of color and some circles to suggest locations on a clock face.
Today I added the hands and a battery and it works…keeping marvelous time.
Sunday, March 22, 2015
Fortunate
I am incredibly fortunate to meet people who donate tins to me. One grouping is from a woman whom I met at a craft show in Rochester. The other group is from a woman who lives in my home town and frequents house sales I attend, too.
Thursday, March 19, 2015
The Napkin Ring Saga
This is a story not dissimilar to Goldie Locks. Finding just the right way to make it work takes lots of tries. I decided I wanted to try making something other than jewelry from tin. I started with candlesticks, which will be another entry, and then landed on napkin rings. That didn't sound too hard. So I tried folding over the edge and then wondered how to connect them.
So I thought a rivet might be the answer.

Then I tried using a wire and rolling the edge around the wire. But the rivets didn't seem to work with this.
So I thought a rivet might be the answer.
I didn't like the way the edges were so uneven. I tried using different scissors to add detail to the rings and tried using rivets. This did not go well either.
Then I tried using a wire and rolling the edge around the wire. But the rivets didn't seem to work with this.
So finally I thought wrapping a belt around the middle right be the answer: I could rivet around the center and where the two pieces of metal overlapped. Yes, this was definitely better. I made them from a vintage 1950's tin doll house.
Tuesday, February 24, 2015
Friday, February 6, 2015
Photography Evolution
When I first opened my Etsy shop, I photographed my tin jewelry on a piece of wood, hoping that it would make my product stand out.
After talking with a friend, I thought the background might be too rustic and not in keeping with the jewelry so I using a white corrugated box lid, which made the jewelry stand out and added a bit of texture to the background.
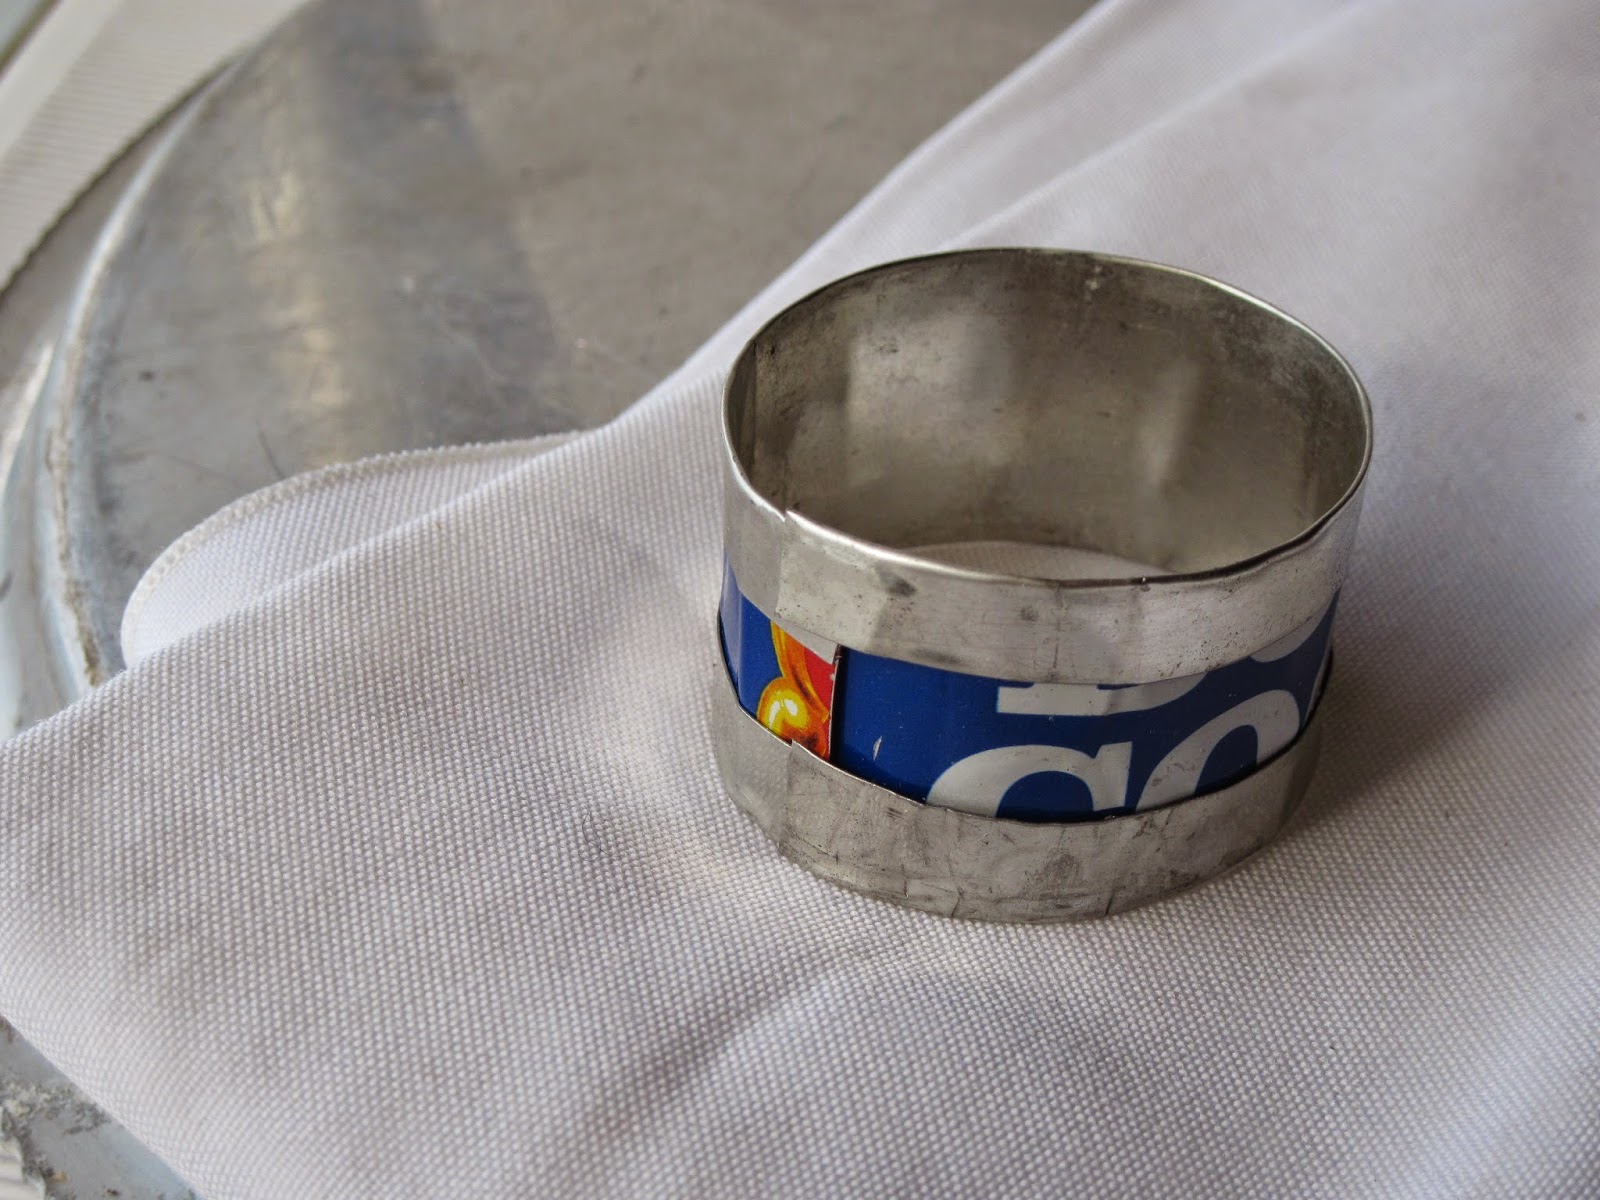
I used this for quite awhile. The white background was easy to color correct for white. I started to want a change so I introduced some objects into the photos. I started with an aluminum tray liking the metal cold.
I then tried a white china plate in combination with the tray.
I was mindful not to make the background too busy but to add interest to the jewelry. I tried a piece of hardware cloth.
I looked around the house for other objects I could add. I found a vintage canning jar lid, once again liking the patina, age and color of the lid.
In the last month I have really tried to find other objects around the house to enhance these product shots. This was a metal milk bottle carrier.
I thought this ice chipper was such an interesting form it might be great for earrings.
These sticks, which were handles for lobster buoys and found on a Maine beach, have really worked out quite well and added a new dimension to the photos. I love the patina on them.
The last photo is my ever growing arsenal of objects to use in the photographs. Who knows what I will find tomorrow?
Subscribe to:
Posts (Atom)